Bleach Bypass Effect and Secondary Colour Correction
Colours are important in terms of actions films. Because I’m in the winter season, my cinematic is looking for coldish/cool mood to it. The colours I experimented were Yellow and Blue. It gave me marvellous results from the RAW footage to the improved footage. I took three screenshots from the beginning to the final piece.
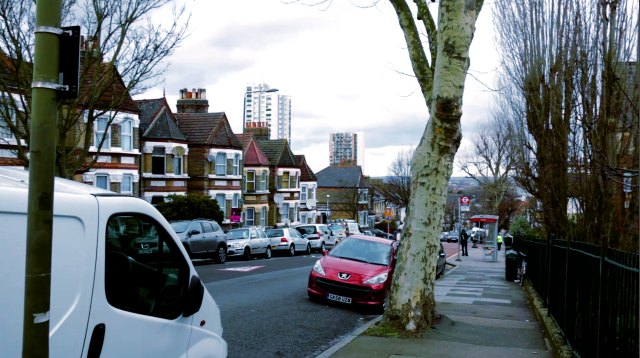
The Original
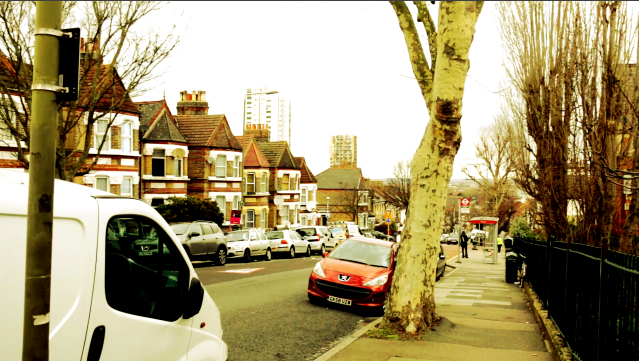
The Experiments
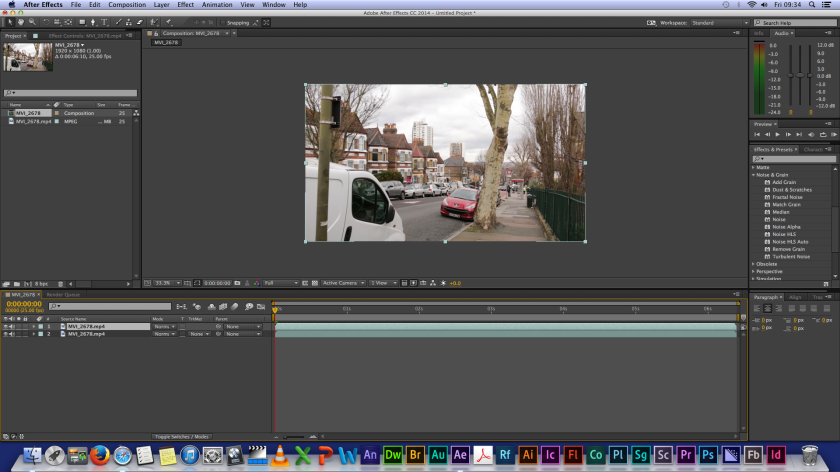
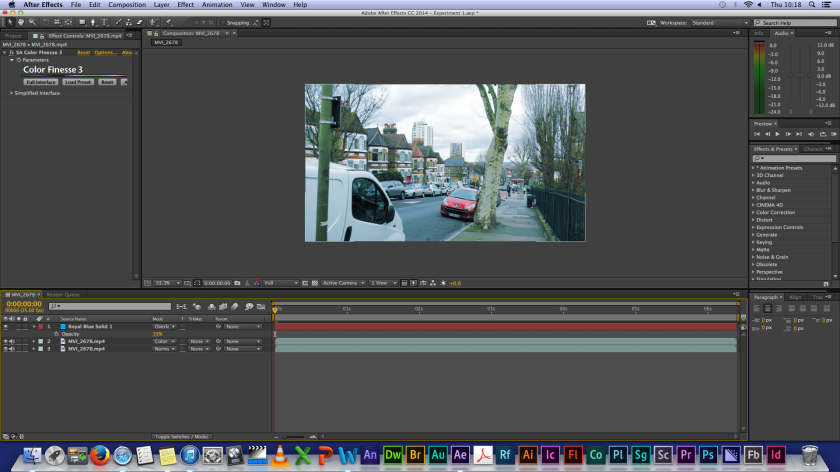
The first step I done was duplicated the footage.
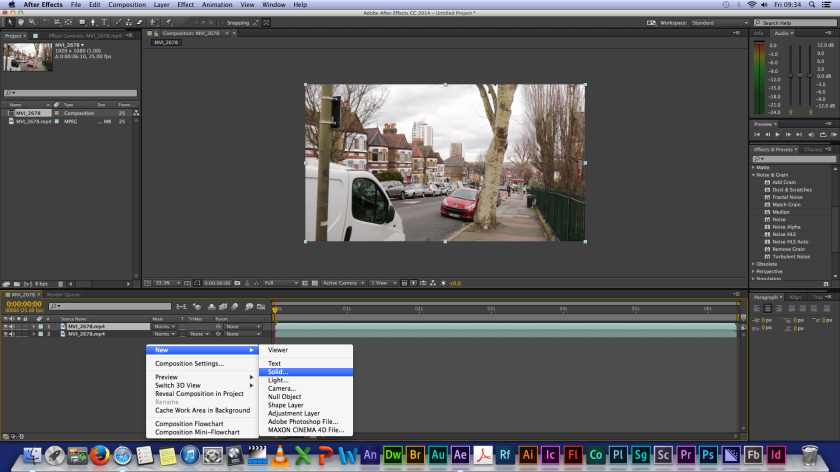
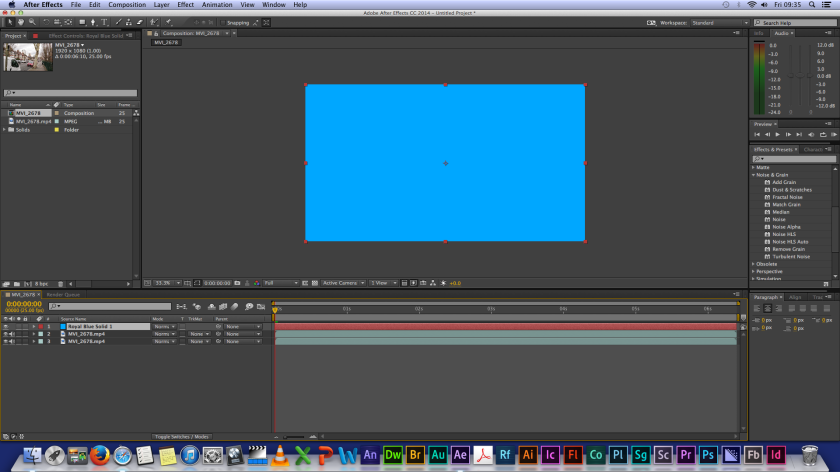
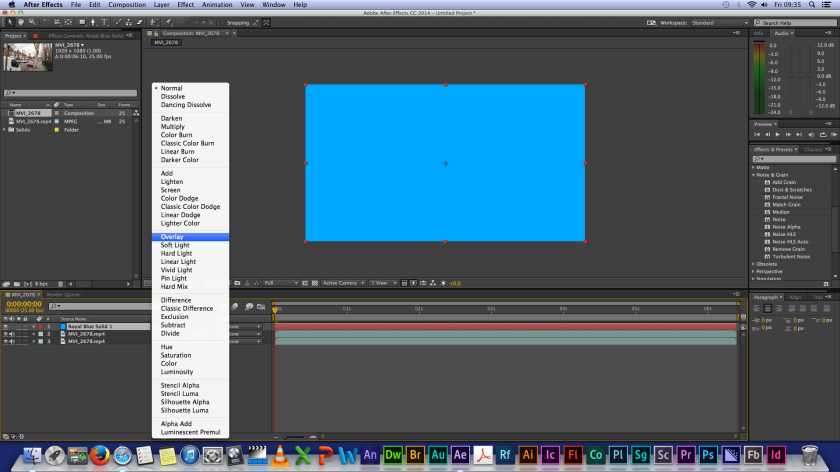
Next was to select ‘New, Solid and chose Blue’.
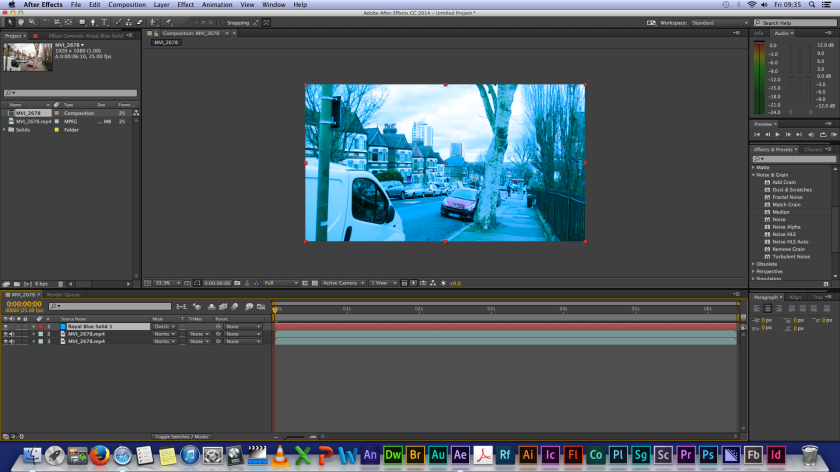
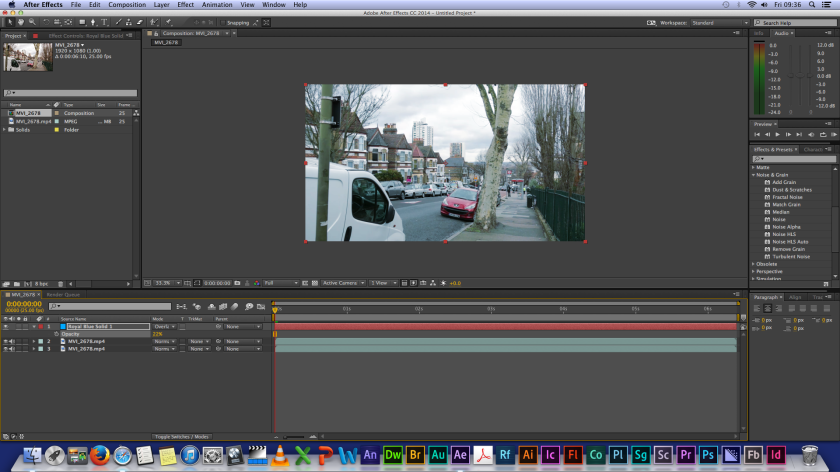
I right-click on the blue layer and pressed overlay. As you can see that the footage is strongly blue for my footage. What I’m looking for is changing the opacity for it. Hold shift, command and O. The numbers that will be best is between 22-33.
For my footage, they need separates effects. Go to the Effects and Presets on the right side on the screen. In the type box, write SA colour Finesse 3. It fix the colours of the footage so it doesn’t it look too dull. This technique is called ‘Colour Correction’ Drag it both to the footage.
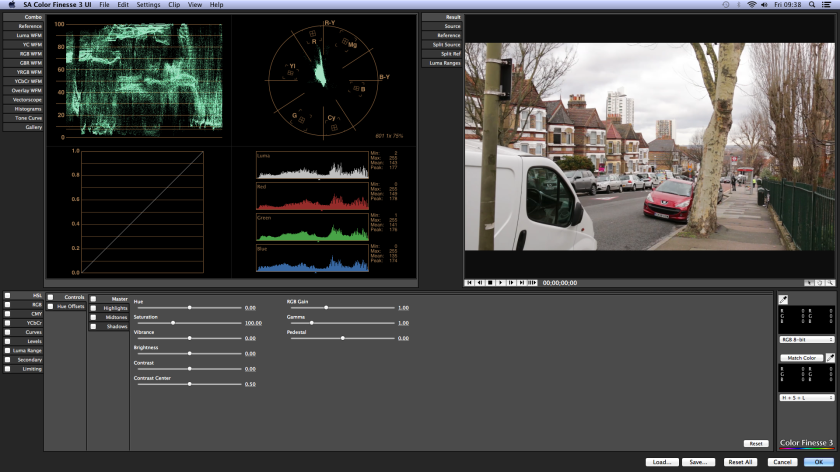
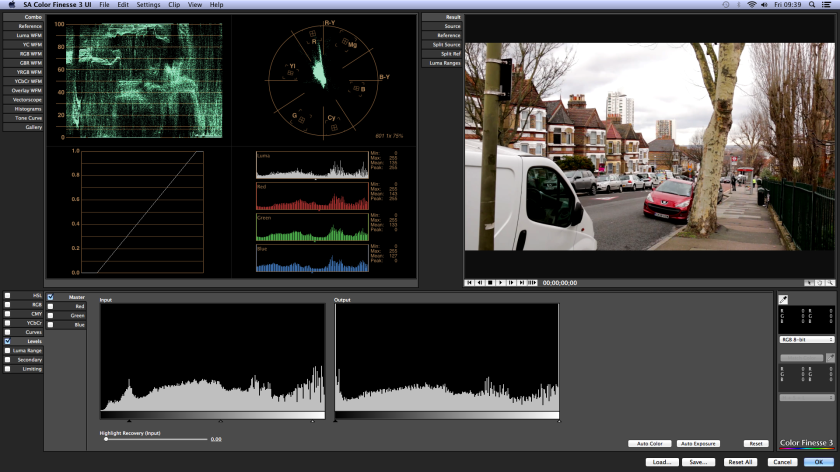
I changed the input levels. I went operated in Levels and press Master adjusted the brightness/darkness level. I wanted to focus on dark level rather than the white level. It better to balance the dark and white it doesn’t tilts on one side or another. Afterwards I changed the Hue to 5.00.
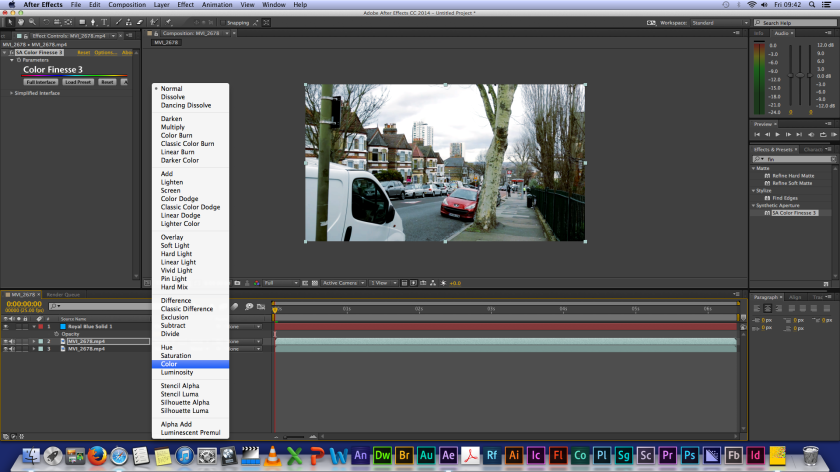
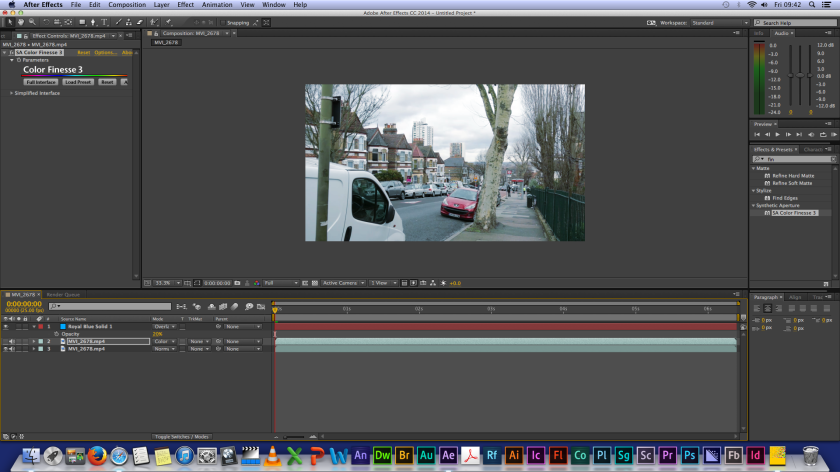
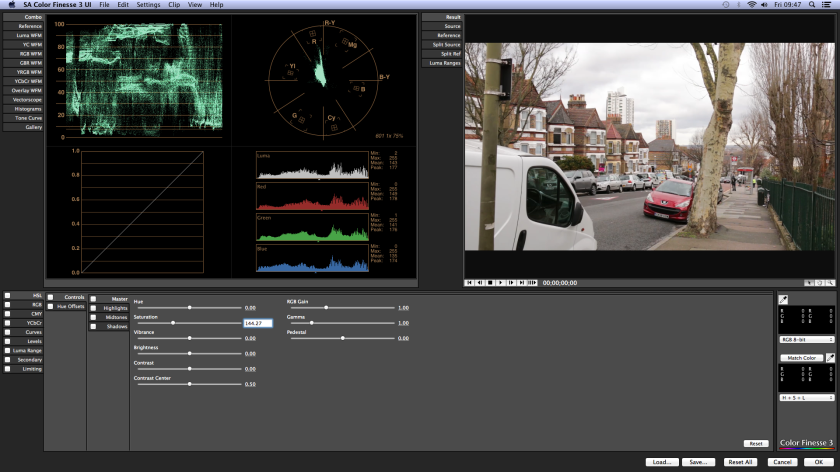

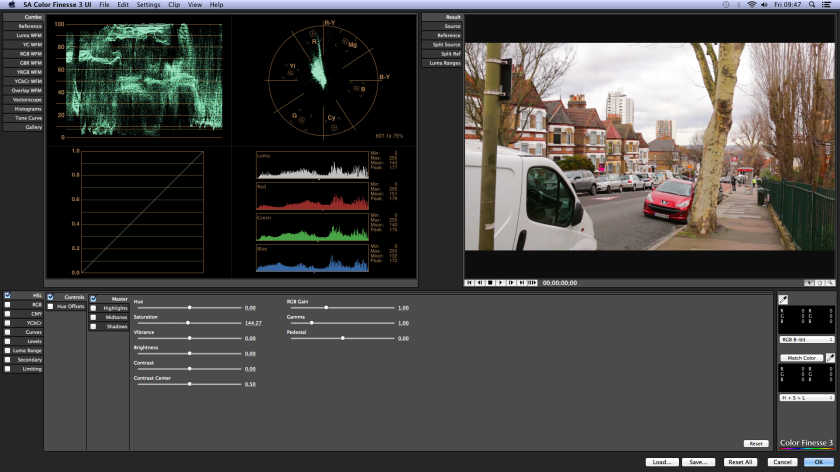
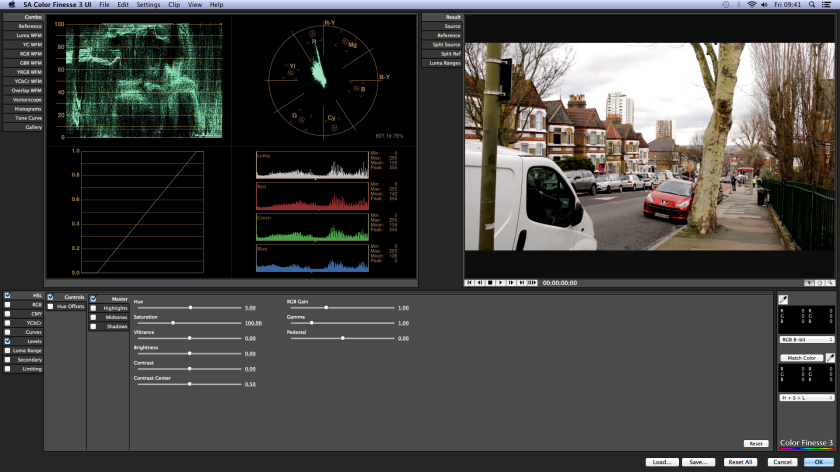
After I finished the second layer, I changed the first layer mode from Normal into Colour. To ensure that the effect worked, I’d turned off the spectators on and off. Now I can see that the Colour mode enhances my cold winter footage. I used the same layer and went back on the Colour Finesse and made the Saturation to 144.27.
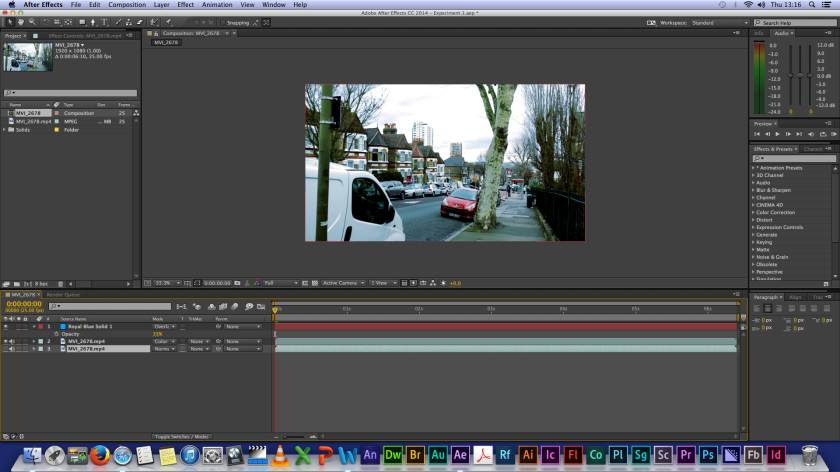
Now since I completed using Colour Corrected and Bleach my footage, I can fully get the cinematic look that I want for my short FMP video. I noticed something from my procedure that if I turn off the spectators in the second layer, the effect appears to be ghostlike. That’s the field of colour I’m focusing on (Black and Blue)
Because it’s an experiment instead of using Blue, I used yellow to show if the there’s any difference to it. Overall it doesn’t matter what colour you use useless its more dim or more overcast.
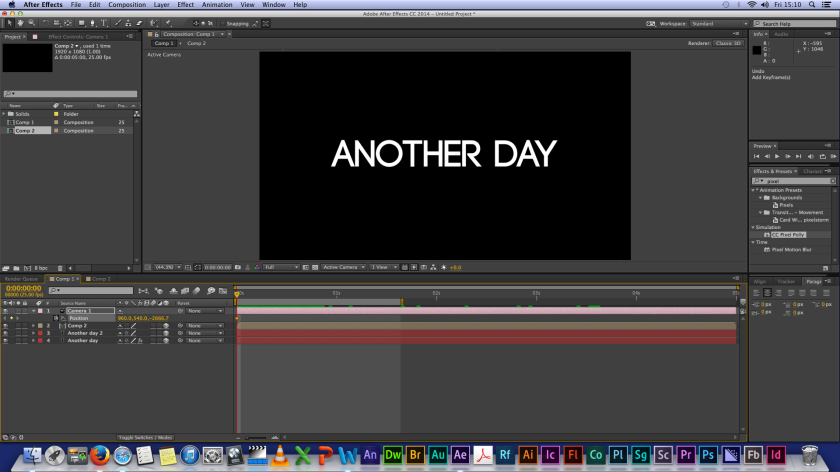
Cut Out Text with Pixel Polly
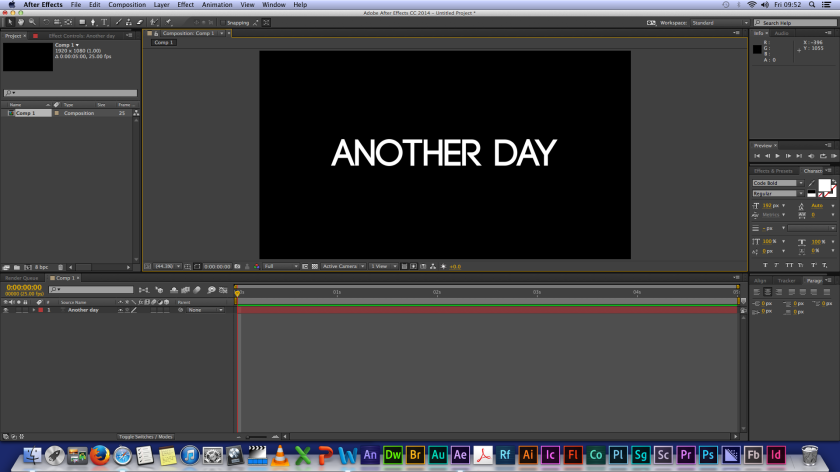
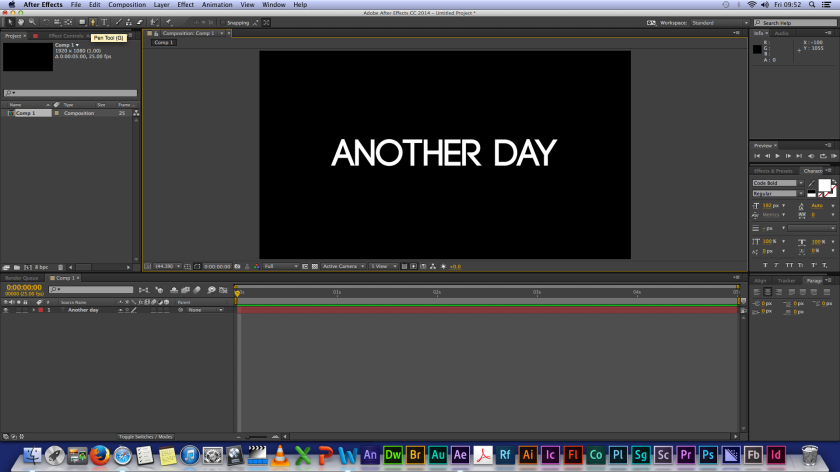
For this experiment is for the opening text for my project.
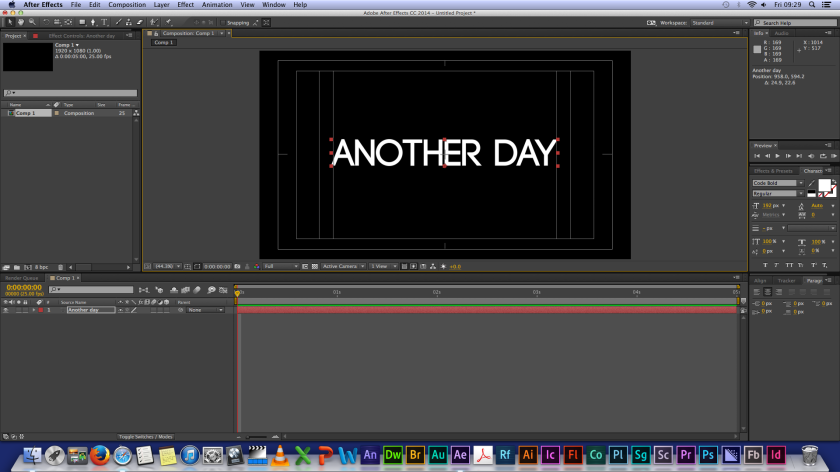

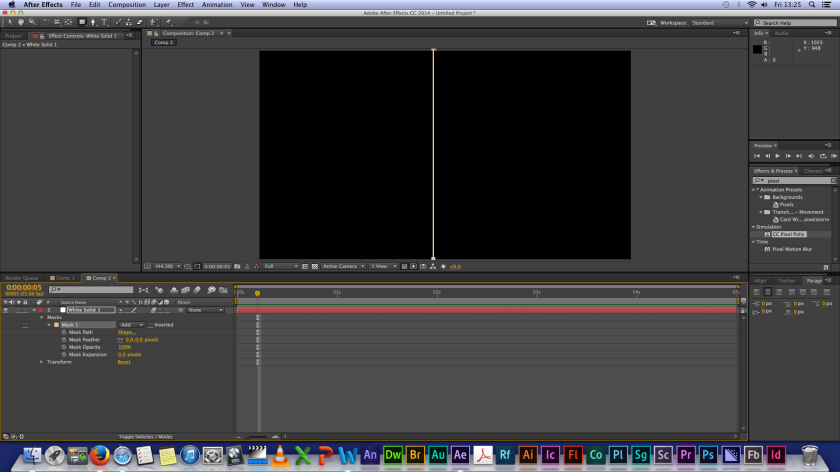
First was set a new composition and enter the text that you want. It’s best to turn on the Grid button (Title/Action Safe) because to give your text more support if the text is too big or too small.
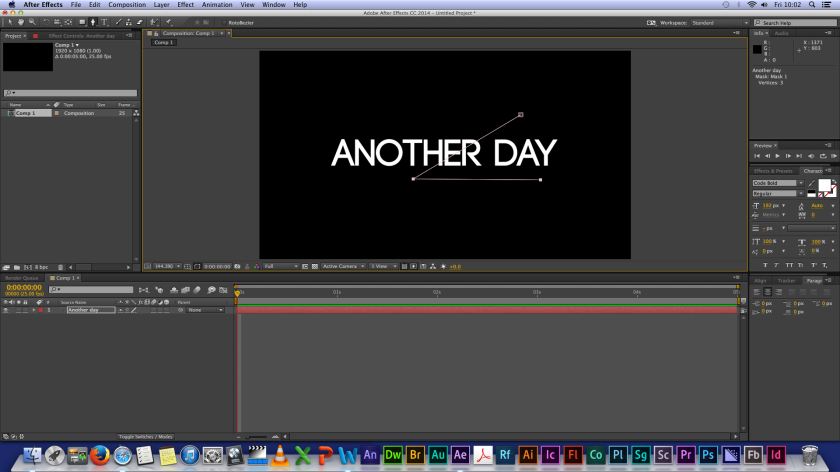
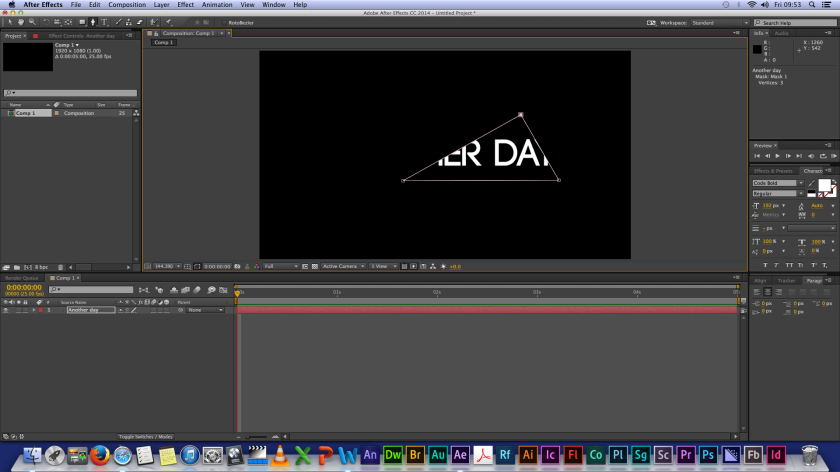
Turn off the Grid button and select the Pen button. Click anywhere on the screen and draw it around the text. Then click outside the screen.
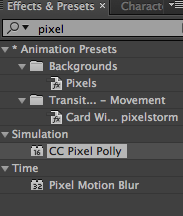
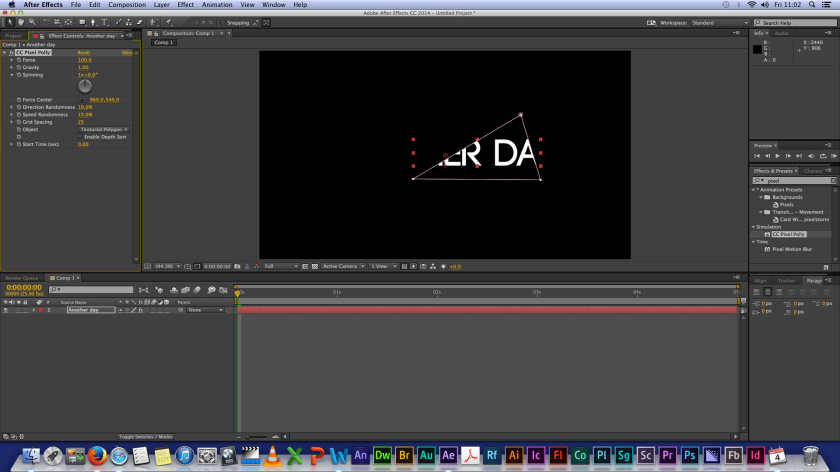
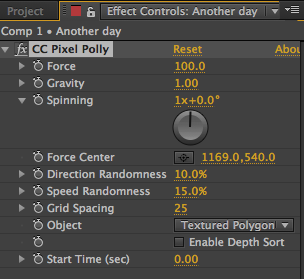
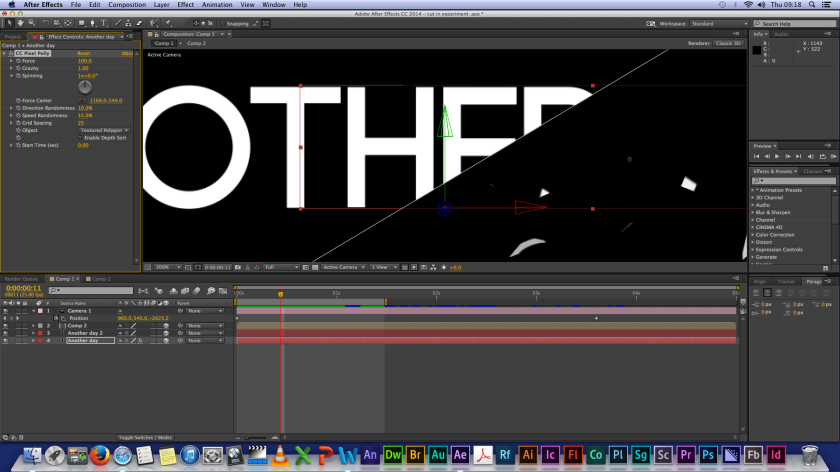
I went to the Effect & Presents and type down CC Pixel Polly. Drag it to the footage.
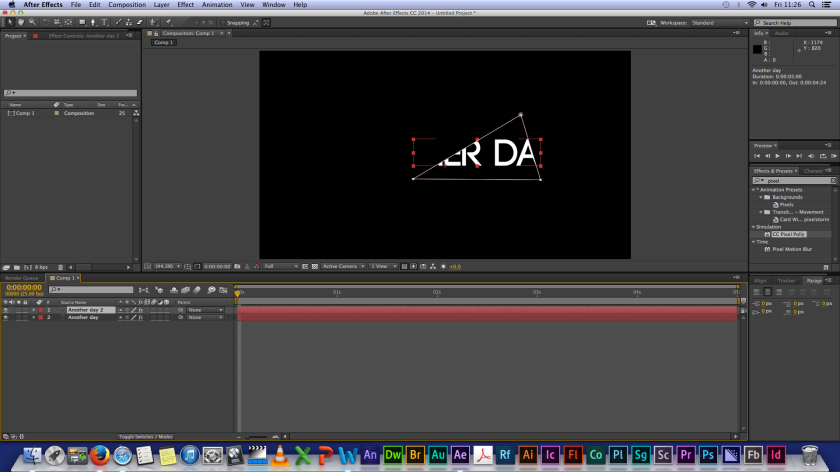
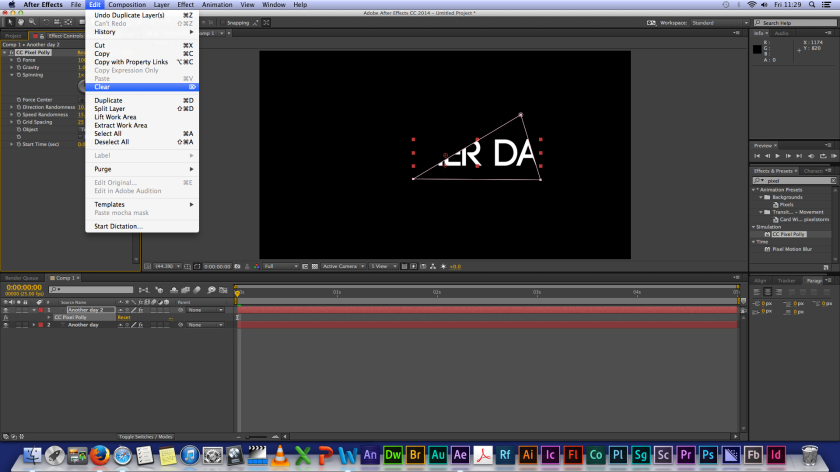
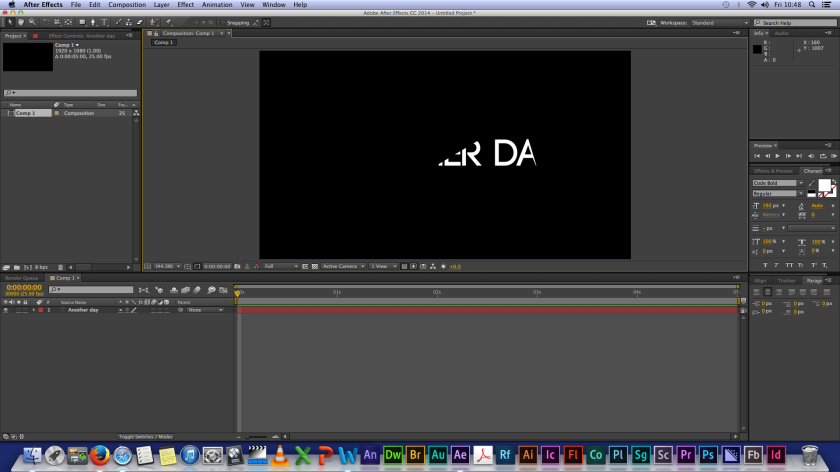
Duplicate the footages and remove the CC Pixel Polly for the second layer.
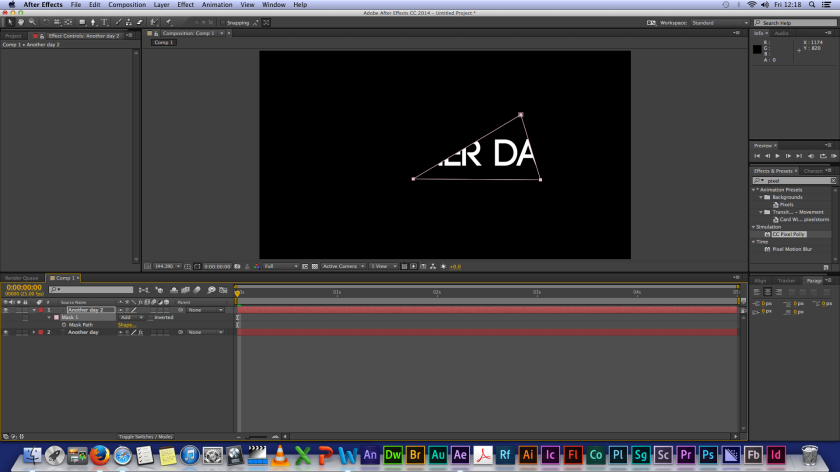
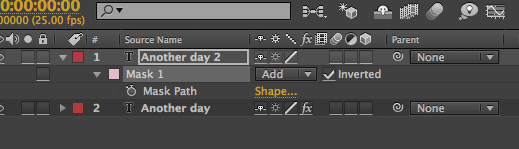
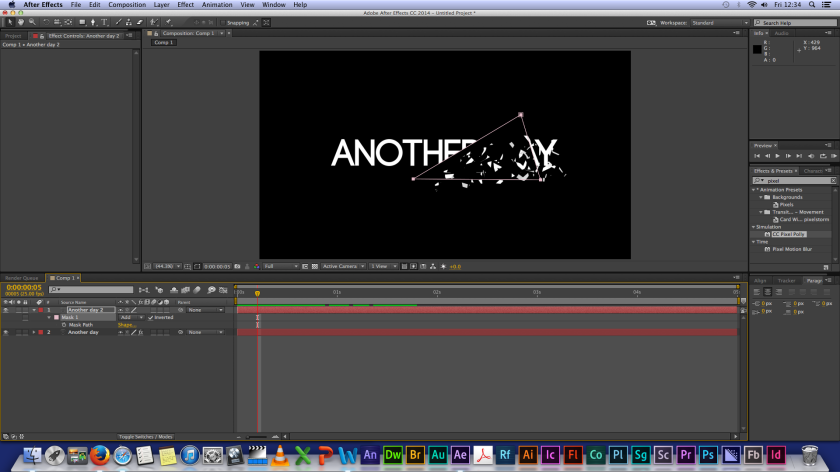
Select the second layer and press M for the mask settings. Right next to Mask 1, turn on the inverted button on to see the Pixel Polly effect for this layer.
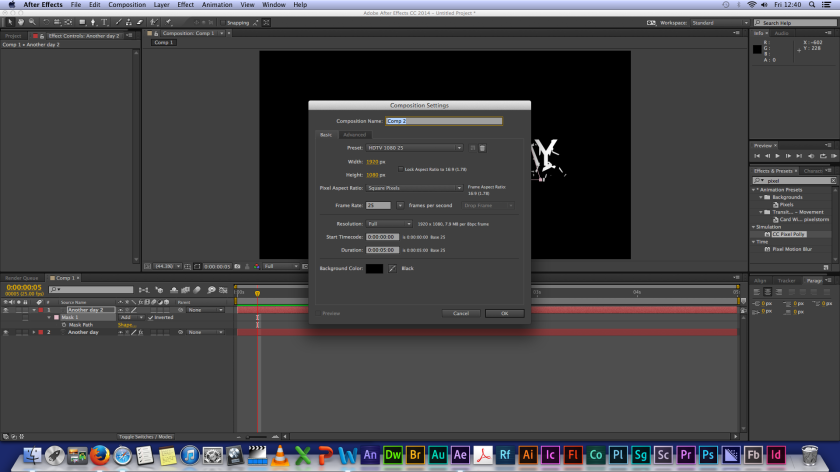
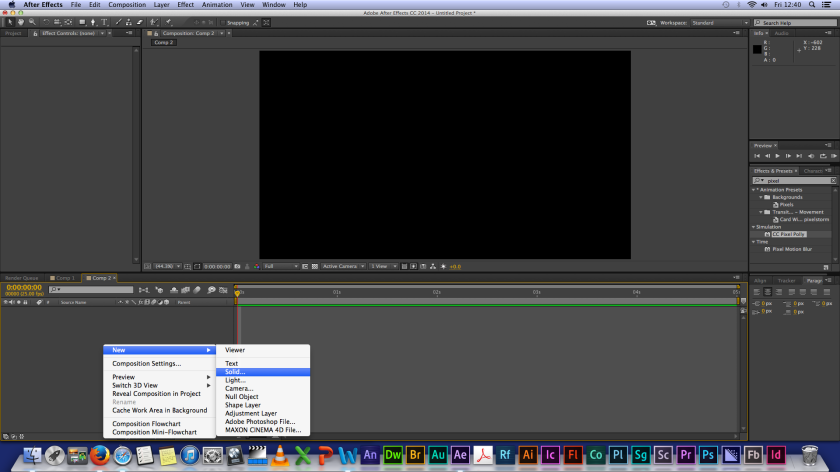
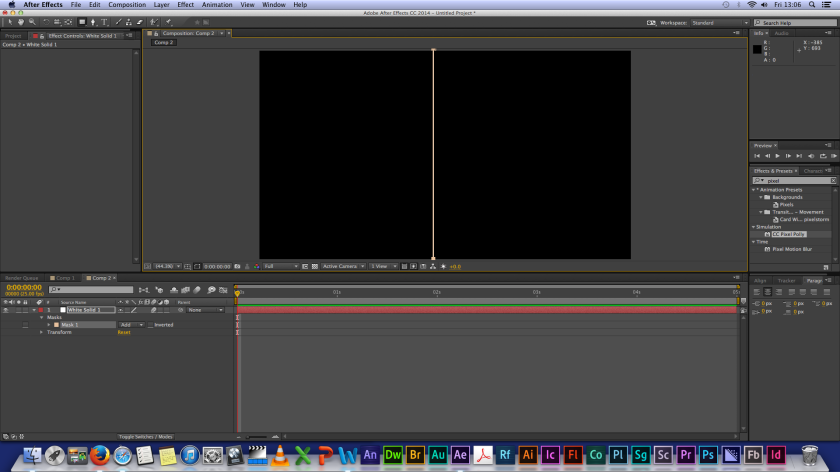
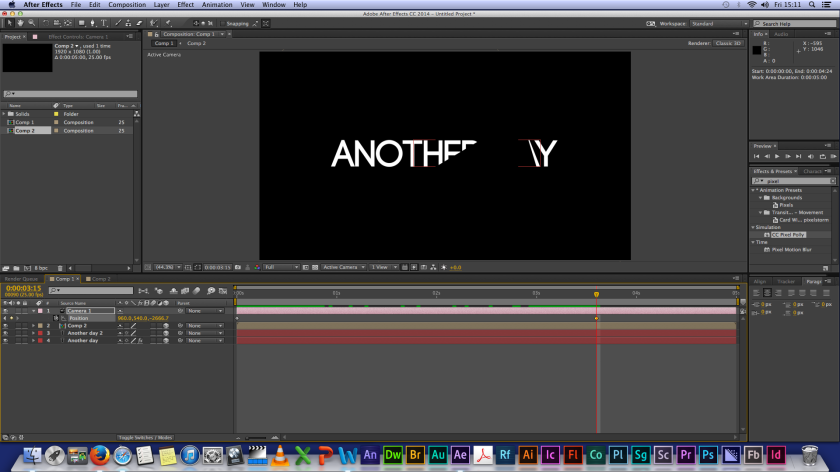
In order to do the Cut In effect, I have to create another composition for it. That I pressed New and select Solid for the background colour should be same colour for the text. Select the Shape tool and draw a very thin shape at the middle of the screen.

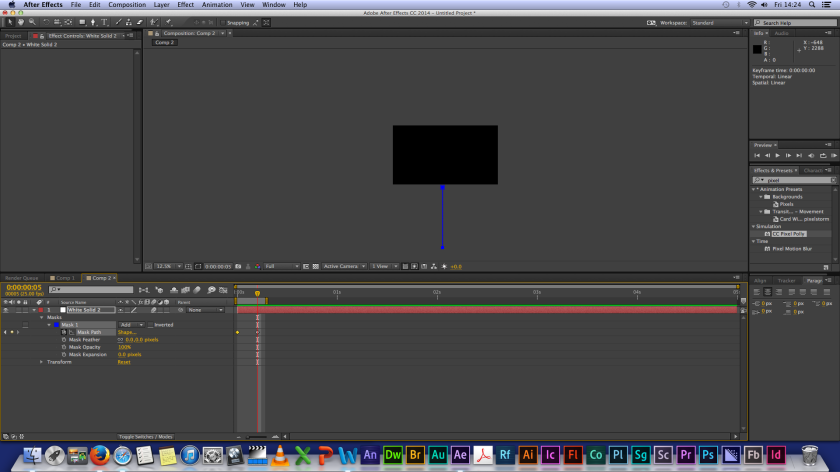

In order to do the Cut In effect, I have to create another composition for it. That I pressed New and select Solid for the background colour should be same colour for the text. Select the Shape tool and draw a very thin shape at the middle of the screen. Since the line is going to be very quick, I have to keyframe in different positions. After I turned on the Motion Blur because to simulate the shutter duration for the line.
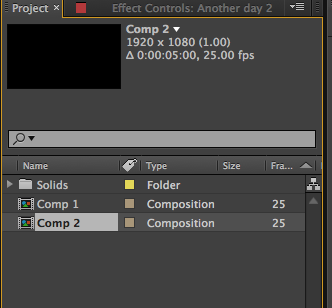

I head back the original composition and dragged the second composition on top for the original layers in Composition 1.
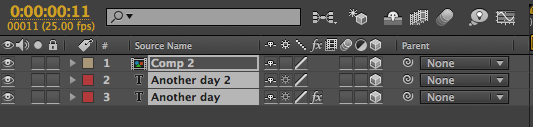


For the three layers in Composition 1, I turned on the 3D box on so I can be able to tilt the camera towards the centre.
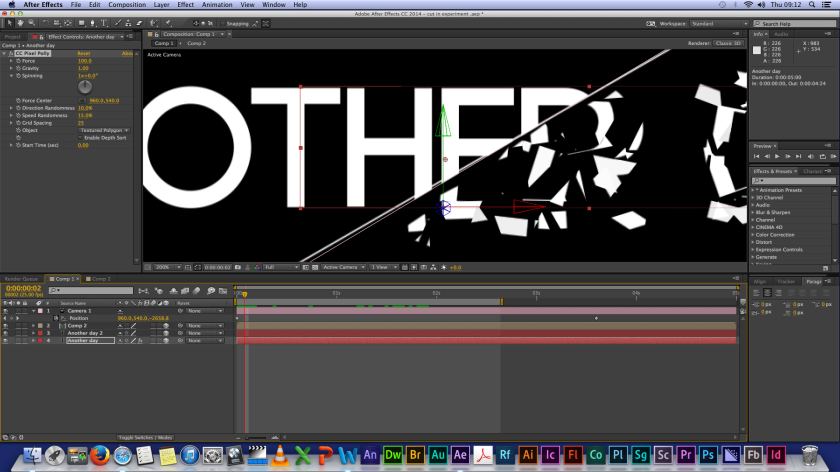
For the finally part of this experiment is changing the paste of the Pixel Polly effect in the first composition.
