Pre-Production
Floorplan
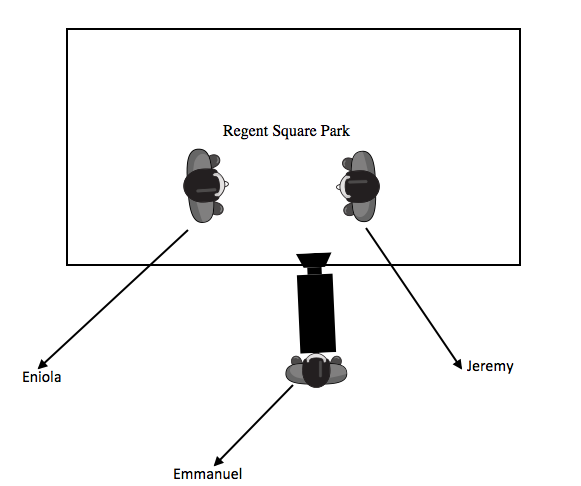
Here I made my floorplan on Celtx. As you can see it’s a rough simple sketch of how the layout of the filming is going to be. The reason why I made this sketch because this will help me on where I want to angle the camera is going to be and where the actors are going to be positioned.
Storyboard
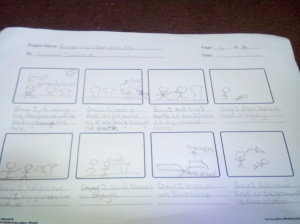
This is my storyboard that I did on my experimental page. The reason why I’m re-using it because the purpose of doing a storyboard in the first place is to show if the concept will work or not. Deep down I feel that if another does another storyboard with a better description and drawing, it may fall apart when I start filming and as you can see that my artist isn’t Michelangelo.
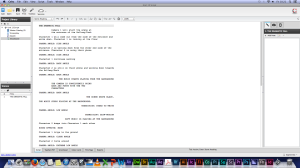
Script
This script is my blueprint of my film. I detailed my script with adding the camera angles and scene dialogues so that it can be easier for people to understand a bit more. This will be an advantage for because the script can tell of long the takes is going to be and the characters are doing.

Production Schedule
Production Schedule Template
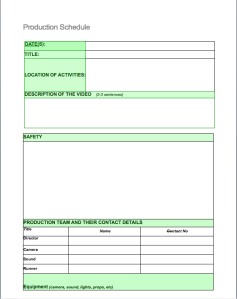
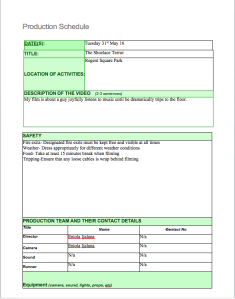

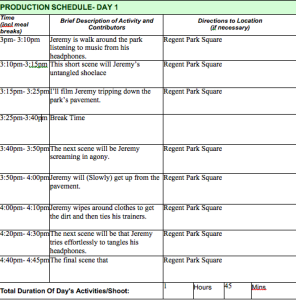
The Production Schedule for ‘The Dramatic Fall’
This is my actual production schedule for my film. Here you can see fully on the layout of the film session.On the schedule has all the health and safety requirements for my filming session and the layout plan for the timing and scene scenario. Even though that I made a production schedule I have to bear in mind on timing, if I go overboard with the schedule.
Location
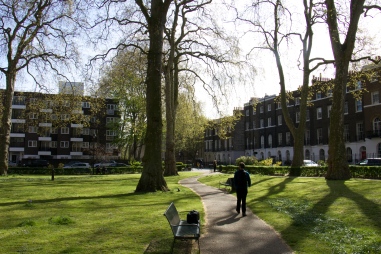
Regent Park Square
Equipment
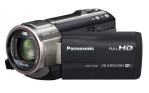 Panasonic Camcorder
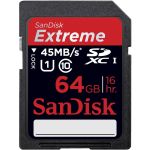 SD Card
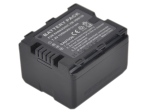 2x Batteries
 Tripod
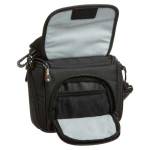 Camcorder Bag
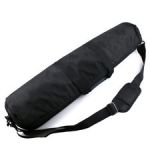 Tripod Bag
Post-Production
For this part, is where after I finished with my film session and transfer the RAW footages on Abode Premiere Pro. The skill sets that I’ll be using is the technical tests that I’ve demonstrated on my experiment page. Throughout the duration of this page, I have to solve and quote for every theoretical problem what I’ll come across.
Colour Grading
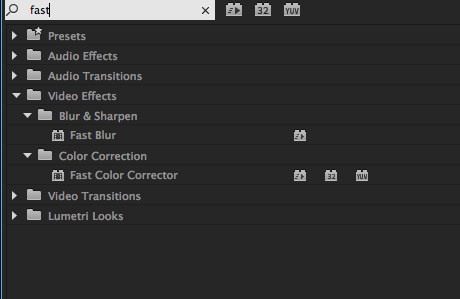
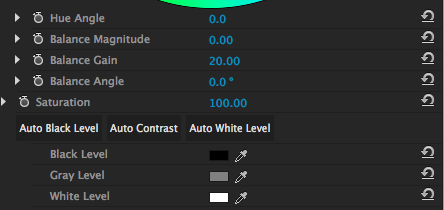
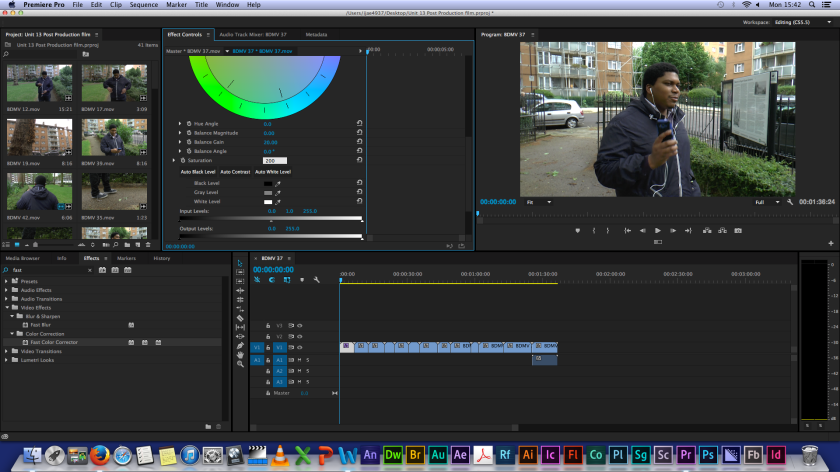
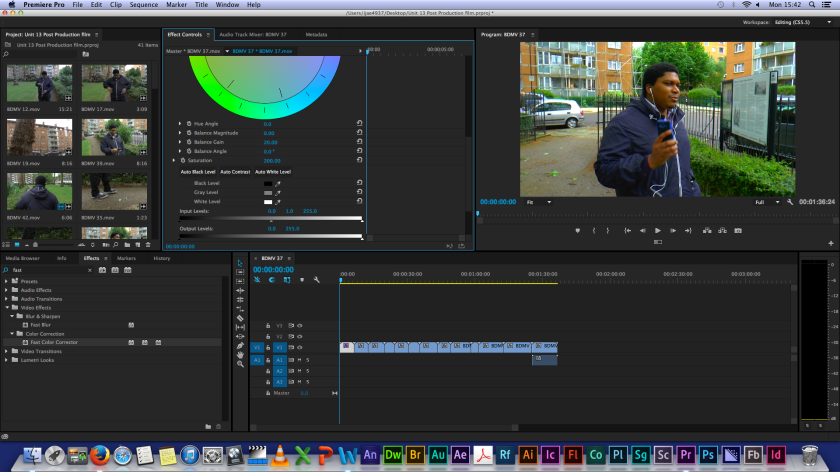
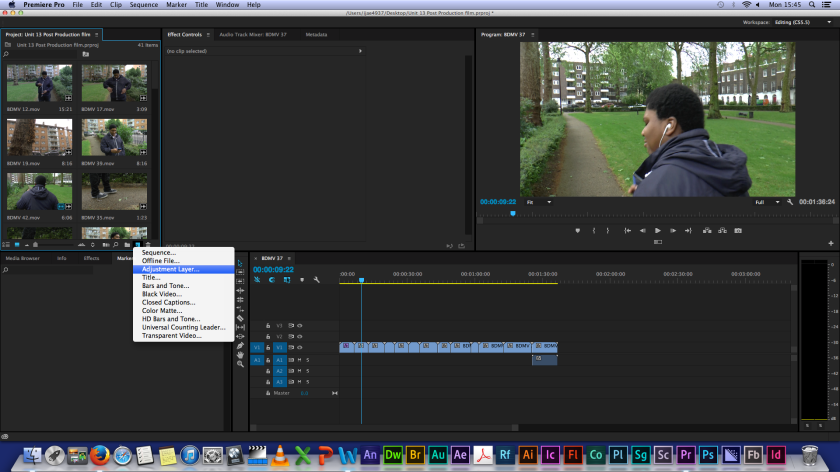
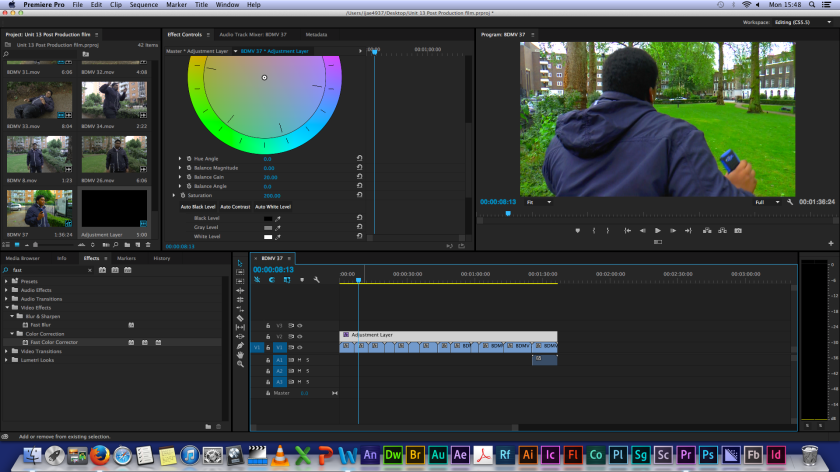
For this section is about the process of the colour grading. Since it’s going comedy film, the tone and mood have to bright and colourful instead of flat tone to it. On the day I recorded it was a gloomy damp day so I’m doing to do is enhance the saturation for my film. In the experiment, I did the three-way colour correction but last night, I found another quicker of doing this. So I did was go to the effect box and dragged the ‘Fast Correction’ effect to my footage. The only I did was to increase the saturation to 200%. I found this unexpected technique must easier because it saves me time from going through that long process I did in my experimental page.
Slowmotion
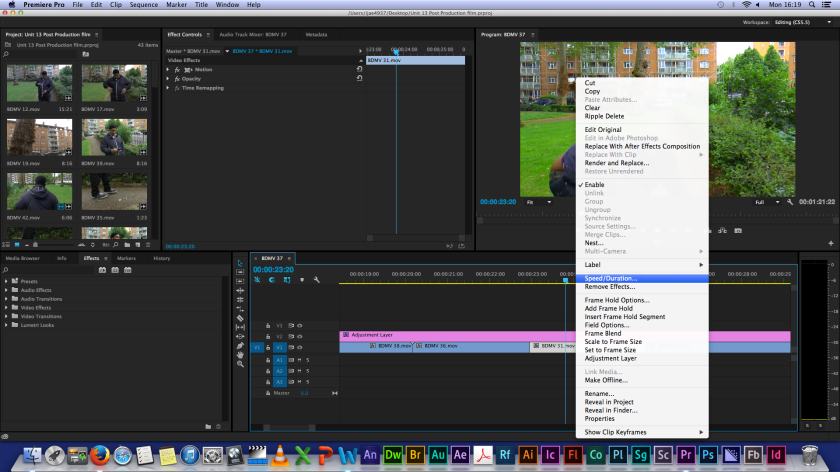

For the next experiment, I did be to do slow-motion when Guy 1 trip to the ground. So all that was right-click on the footage and decreased the speed to 30%. As doing so, I noticed that the length the footage increased so in order the whole footage to play out was to make my film a little bit longer.
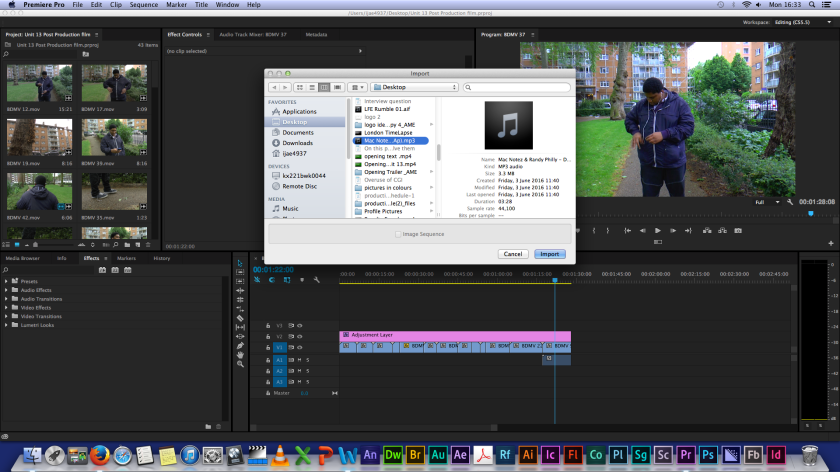
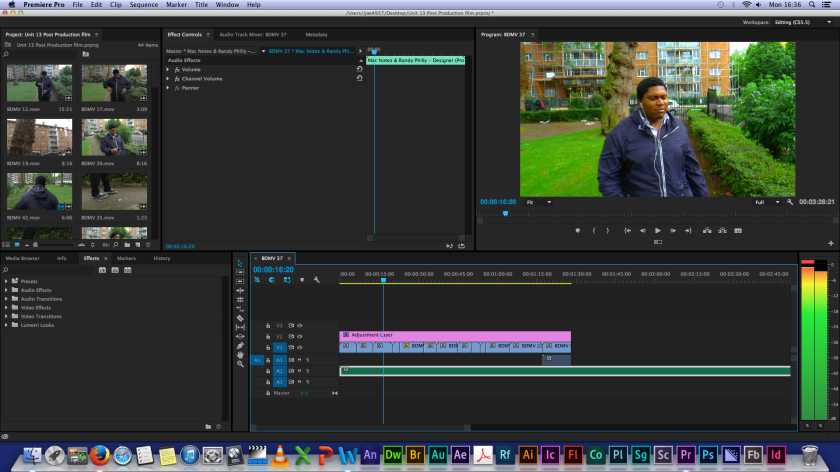
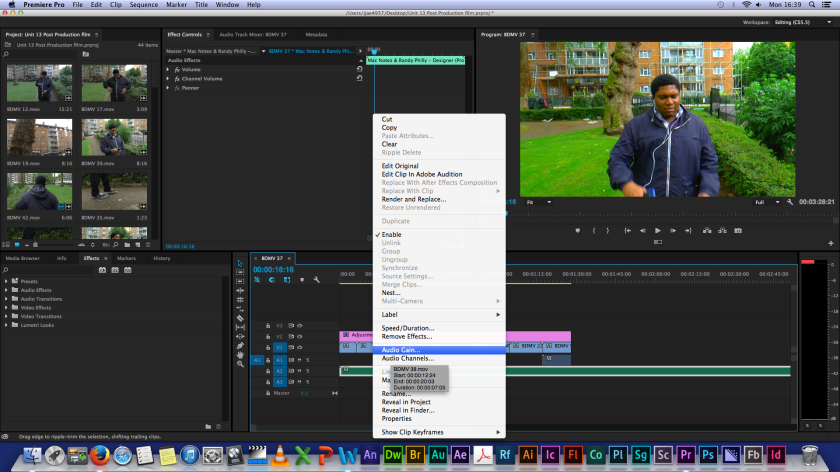
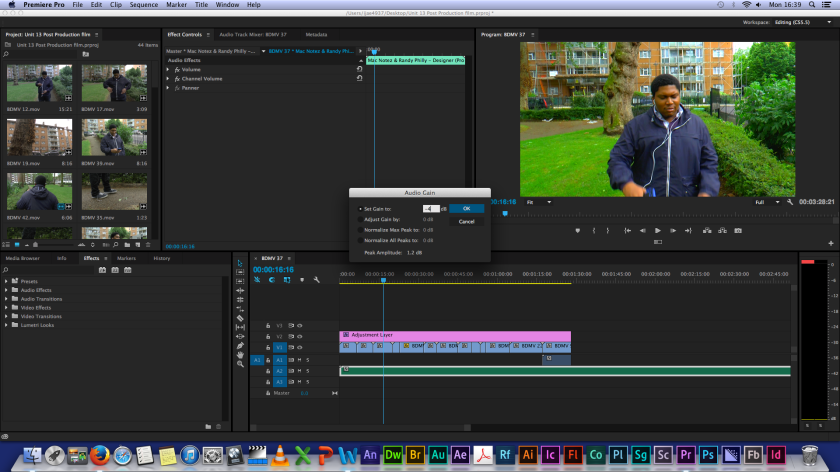
For the next part was adding music to film. As the music played, the volume reached the red bar at the right side of the screen. This could be a problem for whoever is listening to my film at a high volume. The best way to prevent this was to normalise the audio. What I did the right-click on the audio and pressed audio gain. As I said, I don’t want to be high rate so I set it at a negative number (-4) so that it stays under the red radar.
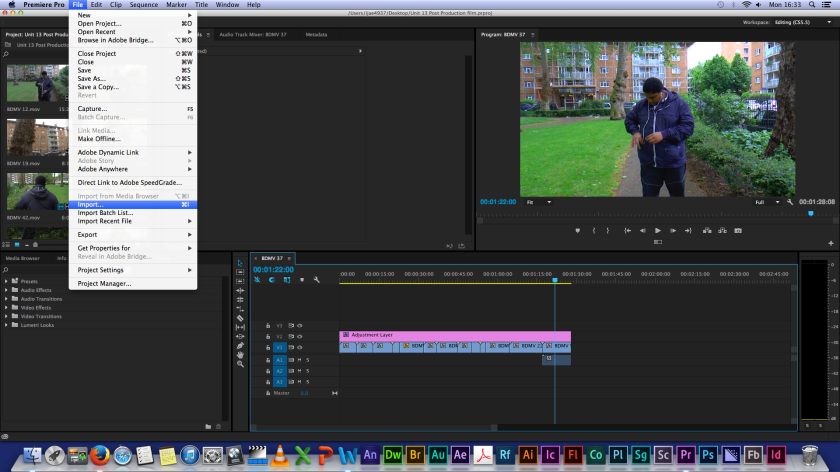
Production

For this final screenshot was adding all the transitions. Looking back from journey was rushed because my original file got corrupted in the system. It seems that this version is much better to do I already identify the problems I had in the version so this one was a puff of air.
Bibliography
